
In several places on this site (like if you click Photos in the menu up top), I have a grid-like view of a list of photos/images:
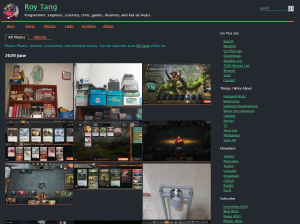

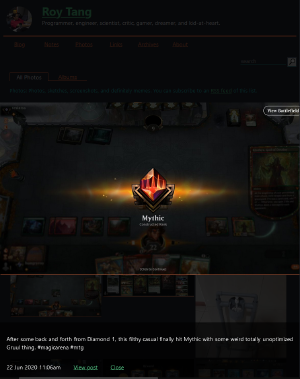
I used to just have each thumbnail open the post permalink on click, with the anchor set to the image itself. The image would be shown in full size inline of the post. This was a bit clunky and not so modern, so I decided to implement it so that the image lists instead will show a Lightbox-style overlay with the full image and some details and an option to click through to the post. That looks a little something like this:
Now, in the olden days doing this sort of thing required JavaScript (as described in the wikipedia link above to Lightbox). But for the modern web, this can be achieved using HTML and CSS only. The method is described in this blog post by jlelse, specifically for use in Hugo themes. The CSS technique is relatively straightforward: you generate two images, a thumbnail, and a hidden full-size one in an overlay. The thumbnail is wrapped in an anchor pointing to the id of the hidden overlay, and the overlay gets displayed via the :target CSS pseudo-selector.
Here’s how that looks in this site’s current Hugo templates:
( .context is the original image resource, and $thumb is the generated thumbnail)
<a href="#{{ .context.RelPermalink | md5 }}-lightbox">
    <figure>
      <img src="{{ $thumb.RelPermalink }}" alt="{{ $figcaption }}"
        title="{{ $figcaption }}" class="tn" />
    </figure>
</a>
<div  class="lightbox" id="{{ .context.RelPermalink | md5 }}-lightbox">
  <a href="#_">
    <img src="{{ .context.RelPermalink | safeURL }}" />
  </a>
  <div class="lightbox_overlay">
    <p>{{ $figcaption }}</p>
    <time class="dt-published" datetime="{{ .postDate }}">{{ .postDate }}</time>
    <a href="{{ .mainPermalink }}">View post</a>
    <a href="#_">Close</a>
  </div>
</div>
And the relevant CSS (I don’t use SASS):
.lightbox {
	display: none;
	position: fixed;
	top: 0;
	left: 0;
	right: 0;
	bottom: 0;
	z-index: 999;
	width: 100vw;
	height: 100vh;
    background: rgba(0,0,0,0.8);
}
.lightbox_overlay {
    position: fixed;
    z-index: 1000;
    bottom: 0;
    width: 100%;
    background: rgba(0,0,0,0.6);
    padding-bottom: 1rem;
}
.lightbox_overlay * {
    padding: 1rem;
}
.lightbox img {
    position: absolute;
    top: 0;
    left: 0;
    right: 0;
    bottom: 0;
    margin: auto;
    max-width: 100%;
    max-height: 100%;
}
.lightbox:target {
    outline: none;
    display: block;
}
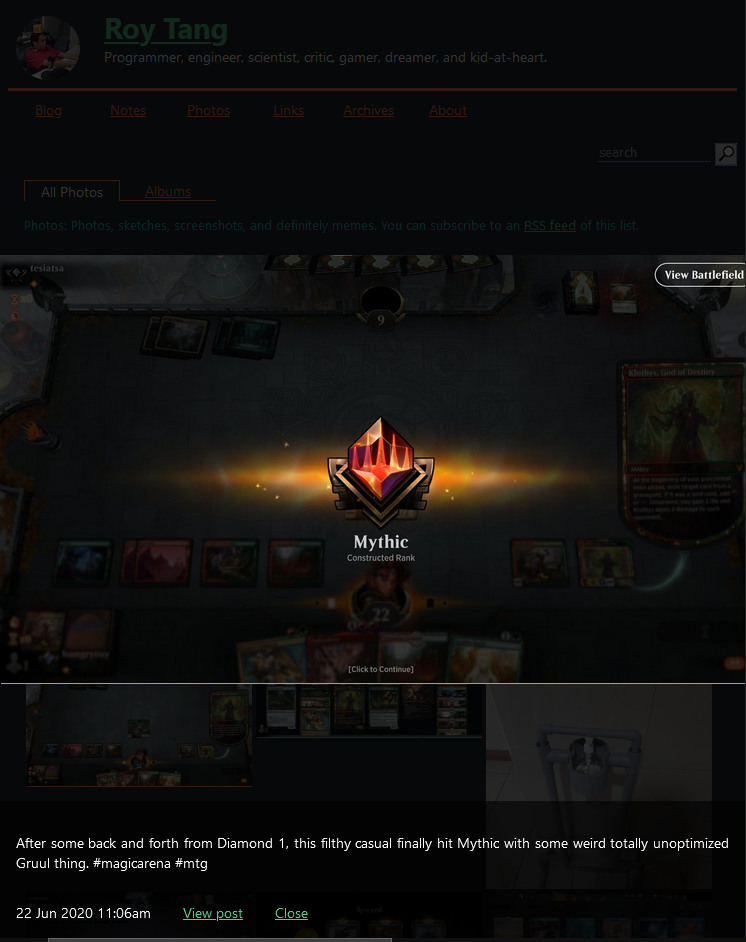
My only changes on top of the jlelse’s blog post linked above was to add a second overlay for a caption and date to be shown, and a link to the original post, and a close button. Clicking the post itself also dismisses the overlay (by replacing the URL fragment), but I thought it was more usable to also add an obvious Close button. I also initially wanted to put “Previous” and “Next” buttons so that you can easily cycle through the images in a post, but this was a bit more effort. I didn’t have a way to “look ahead” in the loop to get the “next” image, if any, so I think I would have needed to loop through the images twice? And since I use this image list in a number of places on the site, that was a bit troublesome, so maybe it’s something I’ll attempt later on?
In any case, I think the new lightboxes are neat!
See Also
Likes