
So recently Github secretly rolled out a new feature where you can create a file named README.md in a repo named github.com/<your github username>/<your github username>, and that markdown file would be rendered on your Github profile page. It means, you can now put basically anything you want on your Github profile!
I just read this post from Simon Willson about using this new feature + Github actions and a Python script to automatically generate and update his Github profile. That seemed neat so I thought about how I would do it.
My blog is already setup to publish using Hugo and Travis-CI whenever I push a commit, so I figured I could just ride on that framework. You can already see this in action on my Github profile page! Basically, I publish the README.md using my regular Hugo build, then my Travis script will deploy it to the appropriate repo.
If you’re new to Hugo, the trickiest part of this might be using a custom output format to generate the README.md. This is basically just a bunch of settings in your Hugo config file:
-
Define a new Markdown media type under
mediaTypesin your config file. For a TOML config file, that looks like this:[mediaTypes] [mediaTypes."text/markdown"] suffixes = ["md"] -
Define a “readme” output format (or whatever you want to name it) under
outputFormatsin your config file. For a TOML config file, that looks like this:[outputFormats] [outputFormats.readme] baseName = "README" mediaType = "text/markdown"The
baseNamehere controls the output file name, while the extension is controlled by the suffixes in step 1. ThemediaTypeyou use here should match the one in step -
Next is to specify which pages should have this custom output format. I used my home page for this, so under
outputsin the config file I added the name of the output format (“readme”) in my case under “home”:[outputs] home = ["HTML", "RSS", "jsonfeed", "hfeed", "readme"] -
Last step, in your theme or your layouts folder, create a file named
index.README.md. This will be the template used to generate the README file. Remember that this is a template to generate markdown. You can use all the normal Hugo template functions, but your output should be markdown. Here’s part of what I put in my template, which generates a list of my most recent blog posts:Latest blog posts: {{ $pages := first 5 (where site.RegularPages "Type" "post") }} {{ range $pages }} - [{{ .Title }}]({{ .Permalink }}){{ end }} [View all posts]({{ .Permalink }}blog)
If you’re not yet too familiar with Hugo templates, you can maybe just use the above example directly first to see what it outputs. (You might need to replace post with posts or whatever your main post type is).
Once you have these setup, just run your usual hugo build and check the output folder to see if the README.md file was generated correctly. It should be in the root of the output folder, same place as the index.html for your home page. One problem I encountered with Hugo is that it insists on lowercasing all the output files, so the output file in my case is always readme.md and not README.md. I just solved this by renaming it during the Travis build.
I won’t discuss the travis deployment process anymore here; if you’ve done CI with Travis and Github integration before, it’s relatively straightforward to add a step to copy the readme file from the Hugo build output to the appropriate repository.
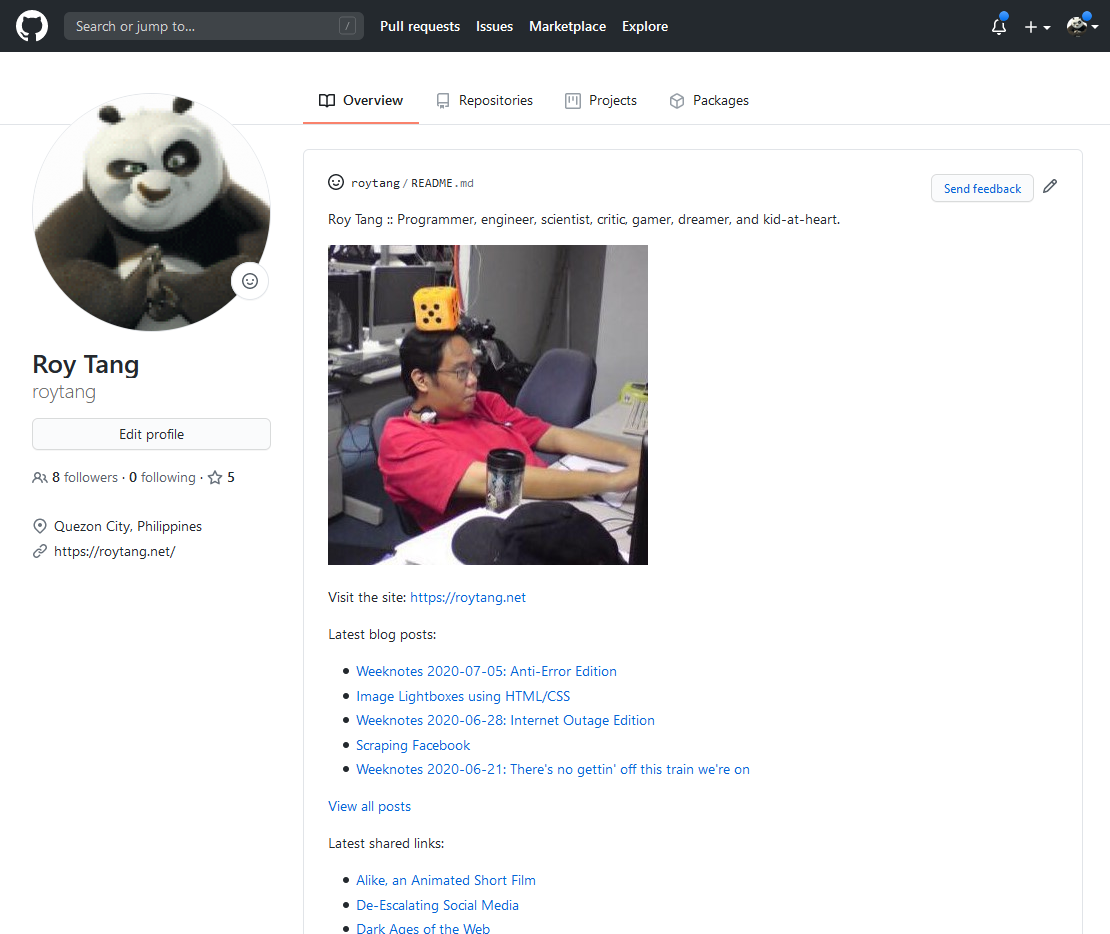
After setting this up, my Github profile page now automatically updates with my latest blog posts/notes/shared links! (I didn’t include photos to keep things simple). The update happens every time my site itself gets a new build, so that’s pretty neat. I’ve attached an image of the new Github profile page for reference!

See Also
Likes